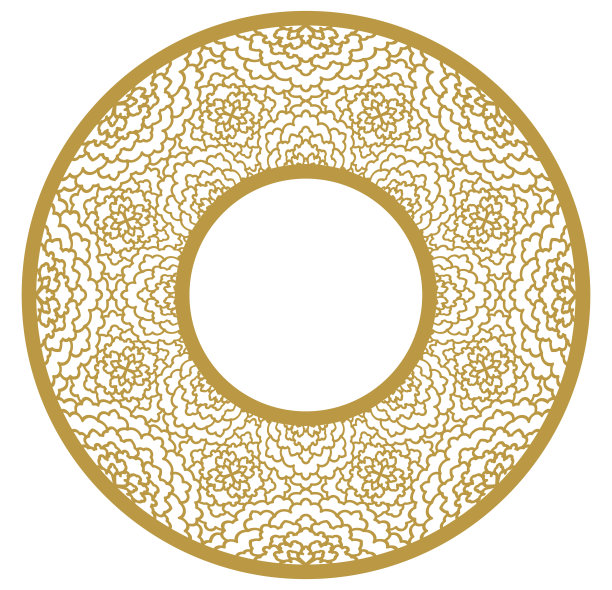
Mother's Day Stencil

Information
      For Mother's Day, there is a wide array of gifts that can express your love and appreciation. Some may be too large to fit in your laser or impractical to set up for engraving. In such cases, using a stencil created with your laser engraver is an excellent alternative, which still allwos you to customize the gift!

I thought the best material for this task would be a thin cardboard that would hold shape even with small parts.  After a little bit of looking around, I landed on using an old cereal box.
Instruction
Step1: Import the design
If you are working with your own design rather than the one in the included XCS file, start by dragging the design into the canvas. Then remove the background with the magic wand tool.
Step2: Image Trace
Now, you will want to do an image trace to get a vector of the design. The built in tool in XCS makes this process as easy as a single click!
Step3: Remove Image
With the image trace complete, simply drag the vector to the side and select the image to delete it. Since we are doing a stencil, we will use the cut processing which is only available with a vector.
Step4: Adjust the Vector
An important thing to keep in mind with stencils is that all of the inner most parts must be connected in some way, otherwise they will be cut out. In this step I went over the design and found areas that would be just cut out and either removed them or added a simple shape to connect them to another part of the design.
Step5: Settings
Since I am using a cereal box for the cardboard stencil, I didn't know what settings to use. To find out, I created a test grid using XCS and set up a serries of test cuts. You can find this tool under the “array” tool after drawing a square in the canvas.
Step6: Cut out
In this final step I loaded the laser with the piece of cardboard. The D1 did a fantastic job cutting out the small parts with accuracy. After complete, I simply pushed each piece out . Next I used masking tape to fix the stencil to a piece of wood I plan to use on a later project


