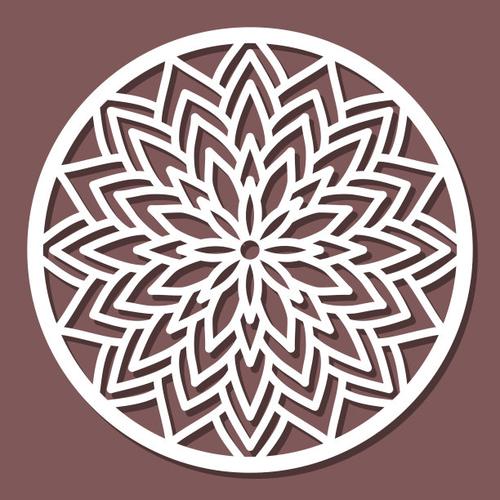
9 coaster stand

Information
Made this 9 section coaster stand to display coasters for sale at the markets.
Instruction
Step1: Open project
In the file it tells you the cut lines are red and the engrave is Black. Make sure you choose the cut settings for the Red and the engrave settings for the Black. Make sure you choose to ignore all the project except the section you are trying to cut or engrave.
Step2: Cut the braces for the stand
After the top of the coaster stand is cut and engraved, ignore the top portions in the output at the top right. Then move the braces on the work area and select it not to ignore. There is only one brace on the file, you need 5 of these, so I copy and pasted the other 4.
Step3: Cut the selves for stand
Once the braces are cut move those out of the work space and move the shelf section to the work are and remember to ignore the braces and not ignore the shelf. You need to make 3 of these
Step4: Cut the side and center braces for the stand
Once the shelves are completed choose to ignore the shelves and move them from the work area and move the braces for the sides and center to the work area. You will need 4 of these so I copied one and flipped it and put them together to utilize the wood better to have less scrap.
Step5: Assemble the Stand
As shown in the picture start with the side and center braces with the front bottom brace. Then add the center cross brace in the center, Then add the bottom shelve then and your next cross brace. Continue this until you get to the top then add the top section of the display. Then the project is complete. The only thing I would recommend would be to clean the burned edges or it will smudge on the other peices during assembly. Enjoy a great way to display your coasters.


