Fathers Day Customizable Keychains


Information
Fathers Day is a special time of year to celebrate that man in your life that loved you, raised you, and influenced you in many ways. With this project, we are allowing complete customization. Someone could chose to place Dad, Daddy, or Papa on one side and then one of 5 other options on the opposite side. Also included will be settings to engrave using the F1 at events in case there is something a guest wants to get engraved on the Keychain on one side.
Instruction
Step1: Notes Before Starting
This is created using XCS 2.0
There are 2 canvases in the file. One has the designs which are cut from the white acrylic and the other has the Keychain blank which is cut from the black acrylic.
Keep in mind that you will have to adjust the designs to get the most out of your material.
I designed this as a Customizable Product for events. What this means is that a customer will be able to choose what is on the Keychain. I cut out the designs and have a few of each one. I put out a display board that invites customers to come and customize their Keychain with samples of what the Keychains would look like. They can pick and choose what goes on the Keychain from the displayed options. Being that I have the F1, I also offer to engrave one side instead of getting something from the designs.
The settings provided are for my machine (P2) and you should be mindful of the settings for your machine, even if you have the same machine. If you need to adjust the settings for your machine, do so by selecting the red color in the lower right corner of XCS. Go to the easy set panel and change to the settings you desire. If you are unsure of your settings, run a test grid.
While this is made with Acrylic, there is no reason that it cannot be made with wood. I like acrylic for the longer term durability.
Step2: Preparing your acrylic
If you have acrylic that has a plastic coating on it, you will want to remove it completely. Lasering plastic coatings can be harmful to your health. If you have acrylic with paper coating like the Acrylic from Smokey Hill Designs, you can laser through that. If you do remove your coating and you want to mask your acrylic, you can use masking tape to do so.
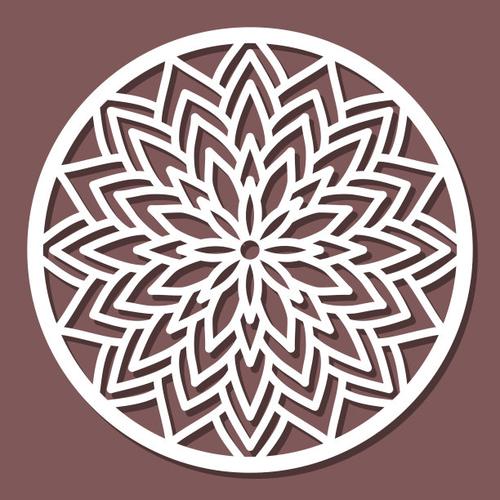
You will need to put 3m Adhesive on the back of the white acrylic prior to cutting. Make sure all air bubbles are out. Once your cuts on the white acrylic are done, leave the adhesive coating on the back. I also leave the paper/mask on the front until it is adhered to the keychains.
Step3: Black Acrylic
Place your black acrylic in the machine and then in XCS make as many Keychain blanks as you would want. Be sure to adjust for the space available on your material. Once the blanks are cut, run a bead chain through the hole and then add a ring. Slip a bead into the connector and press firmly until you feel it seat in place. Make sure to leave the paper coating/mask on if you cut it that way. This will protect your blanks until you use it at your event.
I put the acrylic on the slats.
I used the settings from the xTool material library for 3mm Black acrylic.
Step4: White Acrylic
For the white acrylic, as stated before, be sure you apply the 3M adhesive prior to cutting. I also used the slats for this but it is recommended that you use the honeycomb if you have it since there are a lot of small pieces that fall through and it can help limit the chance of flare ups.
Place the designs you want on your material in a way that takes advantage of as much space as possible. Run your cuts using the settings above.
HINT: When removing the designs after cutting, use a toothpick or fine tipped item and slowly lever each peace from the acrylic. Knock out any pieces that did not fall out in cutting over the bed of the P2 or a waste can. Be very careful as this is very thin acrylic and can break easily if too much pressure is put on the edges when holding them. I recommend you cut an extra one or two more of each design you use above what you are planning just in case some break when handling.
Leave the paper/mask (if you used it) and the adhesive backing on until you are ready to adhere it to a blank keychain. After you stick the design onto a keychain, then remove the mask. This will protect the acrylic from scratches and scuffs.
Step5: Putting together
Each keychain blank is 2.25" x 1.25". Each design to add is 2" x1". The designs are meant to sit as close to center as possible. You want to peel the backing off of the adhesive and visually line it up on top of the blank as close to center as you can then ease it down onto the surface. Being so thin, you may be able to press the design from the edges to move it slightly but be careful as the design can snap doing this. Once you are happy with the placement, press firmly on the top of the design to fully seat the adhesive. If putting a design on the opposite side, do the same thing.
HINT: Remove the chain to make it easier to place your designs on the blanks
Step6: Using the F1 for engraving
I customize a considerable amount of product at events with the F1. Black acrylic keychains are one of them since they engrave fast and come out a great white tone. Make sure to use IR mode.
If a customer wants something engraved on the opposite side instead of using one of the designs, use the settings above to get a nice crisp engrave. However, sometimes it can have bands created in the engraving so be aware of that. You want demo pieces up showing the engravings so customers are aware of the bands that can show in black acrylic engraves.


